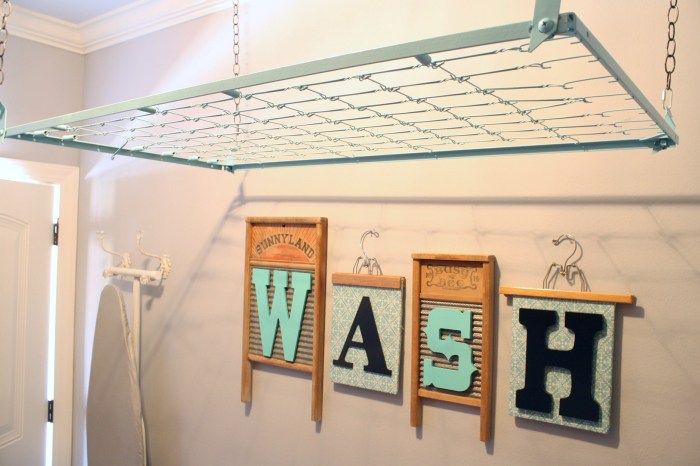
DIY drying rack, a simple and practical solution to clothes drying, offers a sustainable and cost-effective alternative to traditional electric dryers. With a little creativity and basic tools, you can craft a custom drying rack that perfectly fits your space and needs. From simple freestanding designs to intricate wall-mounted options, the possibilities are endless.
This guide explores the world of DIY drying racks, covering everything from design considerations and materials to step-by-step construction instructions and creative variations. We’ll delve into the benefits of building your own drying rack, including cost savings, environmental impact, and the satisfaction of creating something unique.
Materials and Tools

Before you begin building your DIY drying rack, you’ll need to gather the necessary materials and tools. This will ensure a smooth and efficient construction process. The materials you choose will determine the look, durability, and functionality of your drying rack.
Materials
The choice of materials for your DIY drying rack depends on your desired style, durability, and budget. Here are some common options:
- Wood: A popular choice for its natural aesthetic, affordability, and versatility. Pine, cedar, and oak are commonly used due to their strength and resistance to moisture.
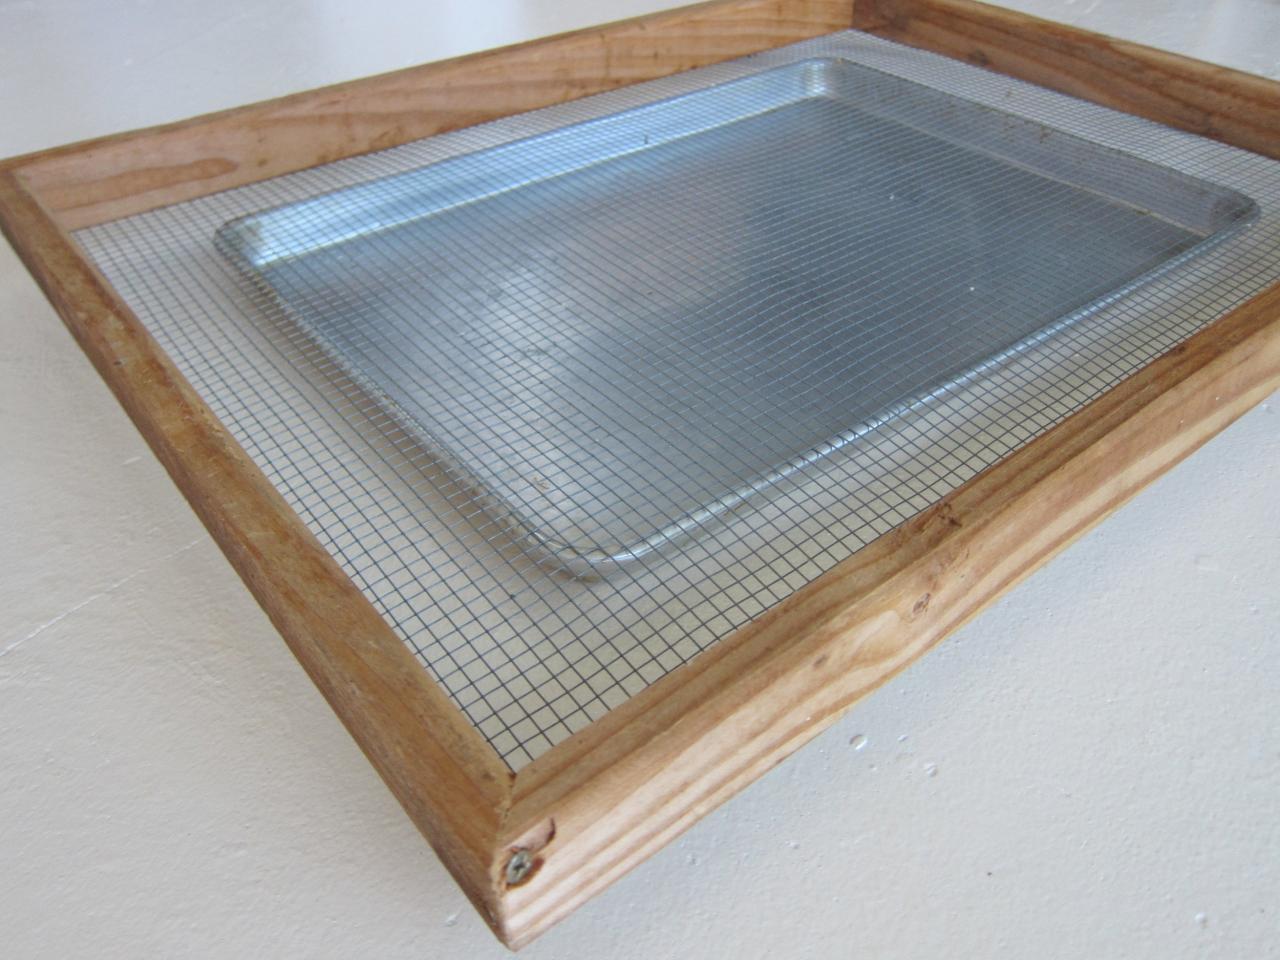
- Metal: Provides durability and can withstand heavier loads. Consider using steel pipes, rebar, or wire mesh for a more industrial look.
- PVC Pipes: Lightweight and inexpensive, making them ideal for simple and portable drying racks.
- Bamboo: A sustainable and eco-friendly option that adds a touch of natural elegance to your drying rack.
Here are some alternative materials for specific design requirements:
- Recycled Materials: Give old wooden pallets, metal scraps, or plastic containers a new life by incorporating them into your drying rack design.
- Upcycled Items: Transform old ladders, picture frames, or window screens into unique and functional drying racks.
Tools
You’ll need a variety of tools for constructing your DIY drying rack. The specific tools will vary depending on the materials you choose and the design complexity.
- Measuring Tape: Essential for accurately measuring and cutting materials.
- Saw: Used for cutting wood, metal, or PVC pipes to size. Choose the appropriate saw based on the materials you’re working with.
- Drill: Needed for drilling holes for screws, bolts, or dowels.
- Screwdriver: For attaching components and securing the drying rack.
- Hammer: Used for driving nails or securing metal parts.
- Wrench: For tightening nuts and bolts.
- Safety Glasses: Protect your eyes from flying debris.
- Work Gloves: Provide protection for your hands while working with tools and materials.
Safety and Maintenance: Diy Drying Rack

While building a DIY drying rack can be a rewarding project, safety and proper maintenance are crucial to ensure its longevity and prevent accidents. This section will cover essential safety precautions and provide tips for maintaining your drying rack for years to come.
Safety Precautions
Before using your drying rack, it’s essential to prioritize safety. Here are some precautions to take:
- Always inspect the drying rack for any loose screws, cracked wood, or other signs of damage before using it.
- Ensure the drying rack is placed on a stable and level surface. Avoid placing it near heat sources or flammable materials.
- Avoid overloading the drying rack with excessive weight. This can lead to instability and potential collapse.
- Use caution when handling sharp objects or hot items near the drying rack. Be mindful of the placement of items and avoid potential spills.
- Never leave the drying rack unattended while it’s in use, especially with wet or delicate items.
Maintaining the Drying Rack
Regular maintenance is essential to prolong the life of your drying rack. Here are some tips:
- Clean the drying rack regularly with a damp cloth and mild detergent. Avoid using harsh chemicals that could damage the materials.
- Inspect the drying rack periodically for any signs of wear and tear. Tighten any loose screws or replace damaged parts promptly.
- Store the drying rack in a dry and well-ventilated area when not in use. This will help prevent moisture buildup and potential mold growth.
- Apply a protective sealant or finish to the wood if needed, especially if the rack is exposed to outdoor elements.
Potential Hazards and Mitigation
While DIY drying racks are generally safe, it’s important to be aware of potential hazards and how to mitigate them:
- Overloading: As mentioned earlier, overloading the rack can lead to instability and potential collapse. It’s best to distribute the weight evenly and avoid placing heavy items on the rack.
- Sharp Edges: If using metal or other materials with sharp edges, ensure they are properly smoothed or covered to prevent injuries. This is particularly important for drying racks that will be used by children.
- Fire Hazards: While the drying rack itself is unlikely to cause a fire, it’s essential to be mindful of its placement. Avoid placing it near heat sources or flammable materials, such as curtains or open flames.
Cost-Effective Solutions
Building a DIY drying rack can save you a significant amount of money compared to purchasing a pre-made one. Store-bought drying racks can range in price from $20 to $100 or more, depending on the size, material, and features. By using readily available and affordable materials, you can create a functional and stylish drying rack for a fraction of the cost.
Finding Affordable Materials and Tools
Finding affordable materials and tools is crucial for a budget-friendly DIY project. Here are some tips:
- Check local hardware stores and thrift stores: You can often find discounted or salvaged wood, pipes, and other materials at these locations.
- Utilize recycled materials: Old pallets, PVC pipes, and even wire hangers can be repurposed into creative drying racks.
- Borrow tools: If you don’t own certain tools, consider borrowing them from friends, family, or a local library tool lending program.
Budget-Friendly DIY Drying Rack Designs
Here are a few examples of budget-friendly DIY drying rack designs:
- Simple wooden rack: This design involves using basic wood planks and dowels to create a sturdy and functional rack. The cost for this project is typically under $20.
- PVC pipe rack: PVC pipes are inexpensive and versatile, making them ideal for building a drying rack. You can create a simple rack with just a few pipes and connectors, or get creative with different shapes and sizes.
- Upcycled pallet rack: Pallets are readily available and often free. You can dismantle a pallet and use the wood to create a rustic and unique drying rack.
Environmental Impact
Creating a DIY drying rack can have a positive impact on the environment, contributing to a more sustainable lifestyle. By choosing to air dry your clothes instead of relying on an electric dryer, you can significantly reduce your energy consumption and carbon footprint.
Energy Savings and Reduced Reliance on Electric Dryers
Air drying clothes eliminates the need for electric dryers, which are major energy consumers. Electric dryers are responsible for a significant portion of household energy use, contributing to greenhouse gas emissions. By opting for air drying, you can reduce your reliance on fossil fuels and minimize your impact on the environment.
Building a DIY drying rack is a rewarding project that empowers you to create a functional and stylish addition to your home. By embracing the DIY spirit, you can enjoy the benefits of sustainable living, reduce your environmental footprint, and express your personal creativity. So, gather your tools, choose your materials, and embark on your own DIY drying rack adventure!
A DIY drying rack can be a great way to save space and money, especially if you’re constantly doing laundry. Just like you can customize a drying rack to fit your needs, you can also tailor your eye care routine by choosing the right eye drops, such as Maxitrol eye drops , which are specifically designed for certain conditions.
Whether it’s a drying rack or eye drops, finding the right solution for your needs is key to making life a little easier.

