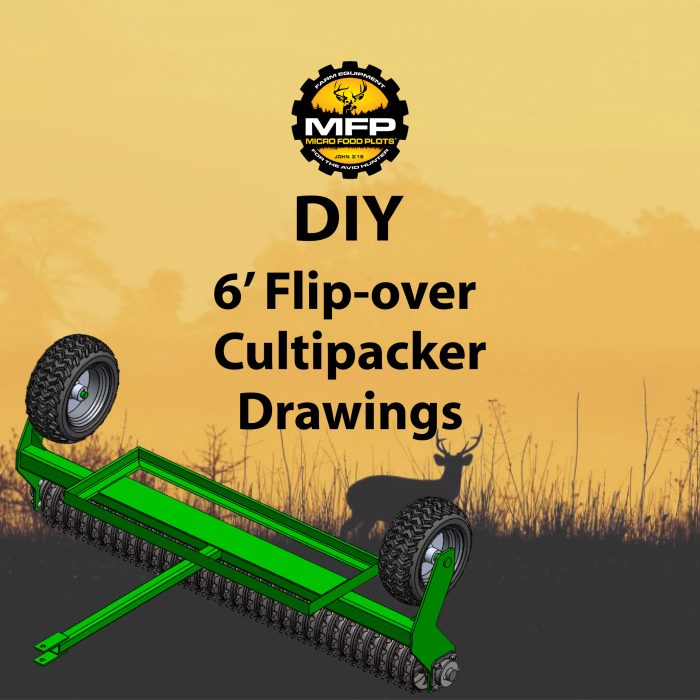
DIY Cultipacker: Build Your Own Seedbed Tool – Want to improve your garden’s soil health and get a head start on planting? Building a DIY cultipacker can be a rewarding project that saves you money and gives you greater control over your garden’s preparation. This versatile tool is designed to level and compact soil, creating a perfect seedbed for your crops.
A cultipacker is an essential piece of equipment for any gardener or farmer who wants to achieve optimal soil conditions for seed germination and plant growth. It’s a simple yet effective tool that helps to level the soil, break up clods, and create a firm seedbed. You can buy a commercial cultipacker, but building your own is a cost-effective and rewarding project that lets you customize the tool to meet your specific needs.
Choosing Materials for a DIY Cultipacker

When building a DIY cultipacker, the choice of materials is crucial for its durability, performance, and longevity. You’ll need to select materials for the frame, rollers, and other components, considering factors like weight, strength, corrosion resistance, and cost.
Frame Materials
The frame of your cultipacker provides structural support and determines its overall weight and strength. Here are some common materials used for DIY cultipacker frames:
- Steel: Steel is a durable and strong material commonly used for cultipacker frames. It’s readily available and can be welded easily. However, steel can be susceptible to rust, so it’s important to use galvanized or powder-coated steel to prevent corrosion.
- Aluminum: Aluminum is lighter than steel and offers good corrosion resistance. However, it’s less strong than steel, so it may not be suitable for heavier cultipackers.
- Wood: Wood is a lightweight and readily available material, but it’s not as durable as metal. Wood frames are generally suitable for lighter cultipackers used on smaller gardens.
Roller Materials
The rollers are the heart of a cultipacker, responsible for compacting the soil. The choice of roller material affects its weight, durability, and ability to smooth the soil.
- Steel Pipes: Steel pipes are a common and affordable option for rollers. They are durable and can be readily sourced. However, they can be heavy, especially for larger rollers.
- Concrete: Concrete rollers are heavy and durable, providing excellent compaction. They are typically made by pouring concrete into a mold. However, concrete rollers are expensive to make and can be difficult to transport.
- Rubber Tires: Old rubber tires can be used as rollers, providing a lighter and more flexible option. However, tires can be prone to wear and tear and may not provide the same level of compaction as steel or concrete rollers.
Other Components
Besides the frame and rollers, other components like axles, bearings, and hitch need to be considered.
- Axles: Axles should be made of strong and durable material like steel. Choose axles that are sized appropriately for the weight of the cultipacker.
- Bearings: Bearings are essential for smooth rolling action. Use high-quality bearings that are rated for the weight and speed of your cultipacker.
- Hitch: The hitch connects the cultipacker to your tractor or other pulling vehicle. Choose a hitch that is compatible with your pulling vehicle and can handle the weight of the cultipacker.
Importance of Corrosion Resistance, Diy cultipacker
Corrosion resistance is crucial for a DIY cultipacker, especially if it will be exposed to the elements. Corrosion can weaken the frame, rollers, and other components, leading to premature failure.
Materials like galvanized steel, powder-coated steel, and aluminum offer good corrosion resistance.
Durability and Cost
Durability and cost are important considerations when choosing materials for a DIY cultipacker.
- Steel is generally the most durable material, but it can be more expensive than aluminum or wood.
- Aluminum offers a good balance of durability and cost, but it may not be as strong as steel.
- Wood is the least expensive option, but it’s also the least durable.
Building a DIY cultipacker can be a fun and rewarding experience, empowering you to create a tool that perfectly suits your garden’s needs. By choosing the right materials and following the steps Artikeld in this guide, you can create a sturdy and effective cultipacker that will help you achieve optimal soil conditions for years to come. Remember to prioritize safety during construction and use, and enjoy the satisfaction of using a tool you built yourself.
Building a DIY cultipacker is a great way to save money and customize your gardening tools. You can find plenty of tutorials online that show you how to make one from scrap wood or metal. However, it’s important to consider the type of soil you’re working with and the size of your garden. If you’re dealing with compacted soil, you might want to consider using a heavier cultipacker, or even look into the benefits of ARB drugs for improving soil health.
Once you’ve got your cultipacker built, you can use it to smooth out the soil, break up clumps, and create a level surface for planting.
