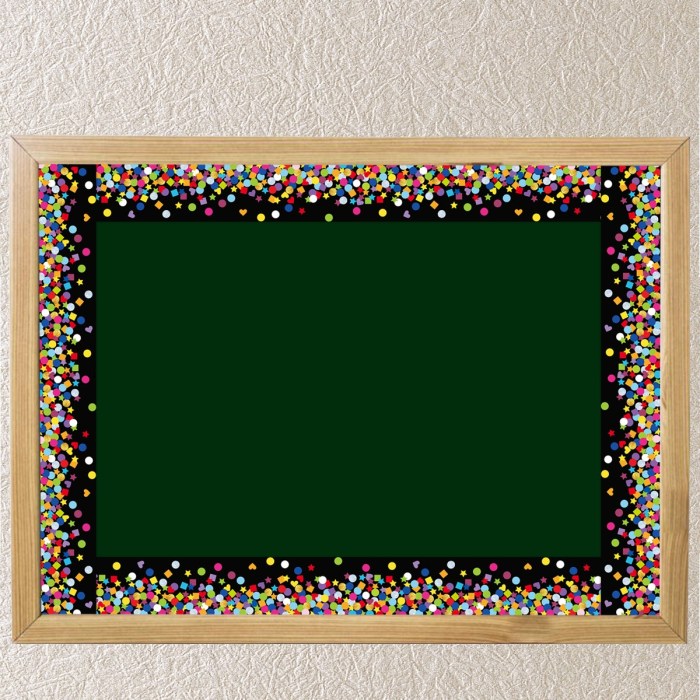
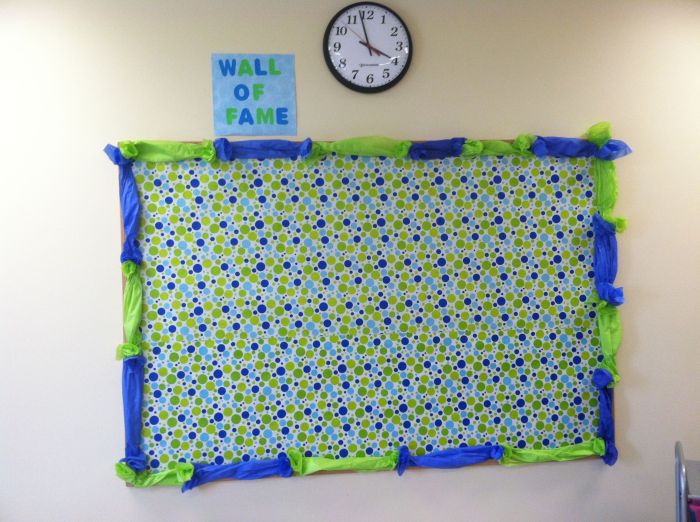
DIY bulletin board borders offer a fantastic way to personalize your space and showcase your creativity. Whether you’re looking to add a touch of whimsy to your child’s room, transform a drab office space, or create a vibrant backdrop for your classroom, crafting your own borders is a fun and rewarding project. With a little imagination and some basic materials, you can create unique and eye-catching borders that reflect your individual style and personality.
This guide will delve into various aspects of creating DIY bulletin board borders, from choosing the right materials to incorporating personal touches. We’ll explore a wide range of design ideas, techniques, and tips to help you craft borders that are both visually appealing and practical. Whether you’re a seasoned DIY enthusiast or a beginner, this comprehensive guide will provide you with all the information you need to get started on your next bulletin board project.
Materials for DIY Bulletin Board Borders

Creating a DIY bulletin board border can be a fun and affordable way to personalize your space. With a little creativity and the right materials, you can transform a plain bulletin board into a statement piece.
The materials you choose will depend on your desired style, budget, and the level of durability you need.
Paper
Paper is a versatile and readily available material for DIY bulletin board borders.
- Construction paper: Construction paper is a popular choice due to its affordability and wide range of colors. It’s easy to work with and can be cut into various shapes and sizes. However, construction paper is not very durable and may tear easily.
- Cardstock: Cardstock is a thicker and sturdier paper option than construction paper. It’s available in a variety of colors and finishes, including textured and patterned cardstock. Cardstock is more durable than construction paper and less likely to tear, making it a good choice for high-traffic areas.
- Wallpaper: Wallpaper can add a unique and sophisticated touch to your bulletin board. It comes in various patterns, colors, and textures, allowing you to create a personalized look. Wallpaper is generally more expensive than paper but offers a more durable and long-lasting option.
- Wrapping paper: Wrapping paper can be a fun and inexpensive option for creating a festive or themed border. It’s available in a wide range of patterns and colors, making it easy to find a design that suits your style. However, wrapping paper is generally thinner and less durable than other paper options.
Fabric
Fabric is another versatile material for DIY bulletin board borders.
- Felt: Felt is a soft and easy-to-work-with fabric that comes in a wide range of colors. It’s relatively inexpensive and can be cut into various shapes and sizes. Felt is also durable and can withstand repeated use.
- Burlap: Burlap is a natural fabric with a rustic and earthy look. It’s available in different colors and can be used to create a unique and textured border. Burlap is durable and can be easily attached to the bulletin board with staples or glue.
- Ribbon: Ribbon is a decorative material that can be used to create a variety of border designs. It’s available in different widths, colors, and patterns, allowing you to create a customized look. Ribbon can be attached to the bulletin board with glue, staples, or pins.
Other Materials
Besides paper and fabric, other materials can be used to create DIY bulletin board borders.
- Wooden dowels: Wooden dowels can be used to create a simple and elegant border. They can be painted or stained to match your décor and can be easily attached to the bulletin board with glue or nails.
- Twine: Twine is a versatile material that can be used to create a rustic or whimsical border. It can be wrapped around the bulletin board or used to create a string of decorations. Twine is easy to work with and can be attached to the bulletin board with glue or staples.
- Beads: Beads can add a touch of sparkle and color to your bulletin board border. They can be strung together to create a garland or used to embellish other border materials.
Design Ideas for Bulletin Board Borders
Creating visually appealing bulletin board borders is an excellent way to enhance the overall look and feel of your space. Borders can serve as a focal point, define the area, and add a touch of personality to your bulletin board.
Seasonal and Holiday Themes
Seasonal and holiday themes are a popular choice for bulletin board borders, as they allow you to change the look of your board throughout the year. For example, you could use fall leaves, pumpkins, and harvest-themed decorations for a fall bulletin board. For the winter holidays, you could use snowflakes, ornaments, and festive colors like red and green.
- Spring: Use bright colors like yellow, pink, and green. Incorporate flowers, butterflies, and other spring-themed decorations.
- Summer: Use beach-themed decorations like seashells, starfish, and sand dollars. Incorporate bright colors like blue, green, and yellow.
- Fall: Use fall colors like orange, brown, and red. Incorporate leaves, pumpkins, and other harvest-themed decorations.
- Winter: Use winter colors like white, blue, and silver. Incorporate snowflakes, ornaments, and other winter-themed decorations.
Geometric Patterns, Diy bulletin board borders
Geometric patterns are a versatile option for bulletin board borders. They can be simple or complex, depending on your preference. Geometric shapes like triangles, squares, circles, and rectangles can be used to create a variety of patterns.
- Stripes: Use alternating colors or patterns to create a striped border.
- Checkerboard: Use two contrasting colors to create a checkerboard pattern.
- Zigzag: Use a zigzag pattern to create a dynamic and eye-catching border.
Nature-Inspired Designs
Nature-inspired designs can add a touch of beauty and tranquility to your bulletin board. You can use natural elements like leaves, flowers, and branches to create a border. You can also use nature-inspired colors like green, brown, and blue.
- Leaf border: Use real or artificial leaves to create a border. You can use different colors and sizes of leaves to create a variety of patterns.
- Flower border: Use real or artificial flowers to create a border. You can use different colors and types of flowers to create a variety of patterns.
- Branch border: Use branches to create a border. You can use different sizes and shapes of branches to create a variety of patterns.
Abstract Shapes
Abstract shapes can be a fun and creative way to add a touch of whimsy to your bulletin board. You can use shapes like hearts, stars, and swirls to create a border. You can also use different colors and textures to create a variety of patterns.
- Heart border: Use hearts of different sizes and colors to create a border.
- Star border: Use stars of different sizes and colors to create a border.
- Swirl border: Use swirls of different colors and sizes to create a border.
Tips for Incorporating Colors, Textures, and Patterns
When creating your bulletin board border, it is important to consider the colors, textures, and patterns you use. Here are some tips:
- Choose colors that complement the theme of your bulletin board. For example, if your bulletin board is about nature, you might choose colors like green, brown, and blue.
- Use a variety of textures to add visual interest. For example, you could use fabric, paper, or even natural elements like leaves and branches.
- Use patterns to create a sense of rhythm and movement. For example, you could use stripes, polka dots, or geometric patterns.
Easy DIY Bulletin Board Border Techniques: Diy Bulletin Board Borders
Creating a border for your bulletin board is a simple way to add a touch of personality and organization to your space. You can use a variety of materials, from paper to fabric to ribbon, and there are many different techniques to create a unique look.
Here are some easy DIY bulletin board border techniques to get you started:
Using Paper Strips
Paper strips are a versatile and affordable option for creating bulletin board borders. You can use different colors, patterns, and textures to create a variety of looks.
Here are some steps for creating a paper strip border:
- Cut strips of paper to the desired length and width. You can use scissors or a paper cutter for this step.
- Arrange the strips in a pattern on your bulletin board. You can create a simple straight line, a zig-zag pattern, or even a more intricate design.
- Secure the strips to the bulletin board using glue, tape, or push pins. You can use a glue stick, double-sided tape, or push pins to hold the strips in place.
Using Fabric Scraps
Fabric scraps are another great option for creating bulletin board borders. You can use different colors, textures, and patterns to create a unique look.
Here are some steps for creating a fabric scrap border:
- Cut fabric scraps into the desired shapes and sizes. You can use scissors or a fabric rotary cutter for this step.
- Arrange the fabric scraps in a pattern on your bulletin board. You can create a simple straight line, a zig-zag pattern, or even a more intricate design.
- Secure the fabric scraps to the bulletin board using glue, tape, or push pins. You can use fabric glue, double-sided tape, or push pins to hold the fabric scraps in place.
Using Ribbon
Ribbon is a beautiful and elegant option for creating bulletin board borders. You can use different colors, widths, and textures to create a variety of looks.
Here are some steps for creating a ribbon border:
- Cut ribbon to the desired length. You can use scissors or a fabric rotary cutter for this step.
- Arrange the ribbon in a pattern on your bulletin board. You can create a simple straight line, a zig-zag pattern, or even a more intricate design.
- Secure the ribbon to the bulletin board using glue, tape, or push pins. You can use fabric glue, double-sided tape, or push pins to hold the ribbon in place.
Creative Bulletin Board Border Ideas

Bulletin board borders don’t have to be limited to the traditional paper strips or store-bought borders. Get creative and let your imagination run wild with unique and unconventional ideas. Think outside the box and explore the possibilities of using recycled materials, natural elements, and personal items to create a truly unique and personalized border.
Using Recycled Materials
Recycled materials offer a sustainable and budget-friendly way to create eye-catching bulletin board borders.
- Magazine Cutouts: Cut out interesting shapes, patterns, and images from old magazines and create a collage border. This is a great way to add color and personality to your bulletin board.
- Cereal Box Cardboard: Transform cereal boxes into decorative borders by cutting them into strips and painting them with bright colors or patterns. You can even add glitter or other embellishments to give them extra sparkle.
- Plastic Bottle Caps: Collect plastic bottle caps in different colors and sizes and arrange them in a pattern around the perimeter of your bulletin board. This creates a fun and whimsical border with a touch of eco-friendliness.
- Newspaper Strips: Cut strips of newspaper and weave them together to create a unique and textured border. You can also use different colored ink newspapers for a more colorful effect.
Incorporating Natural Elements
Bringing the outdoors in can add a touch of nature and tranquility to your bulletin board.
- Dried Flowers and Leaves: Press dried flowers and leaves and arrange them around the bulletin board for a natural and rustic look. You can also use dried grasses, twigs, or pine cones to create a more textured border.
- Seashells: If you’re near the coast, collect seashells of various shapes and sizes and use them to create a beach-themed border. You can even paint them with bright colors or glue them onto a fabric strip for a more cohesive look.
- Cork Bark: Cork bark can be cut into strips or shapes and used to create a natural and earthy border. Its unique texture and color can add a touch of sophistication to your bulletin board.
- Twine and Burlap: Twine and burlap are versatile materials that can be used to create a variety of border styles. You can wrap them around the perimeter of the bulletin board, or use them to create a rustic or farmhouse-inspired look.
Using Photographs and Artwork
Personalize your bulletin board by incorporating photographs, artwork, or other meaningful items.
- Family Photos: Create a border of family photos to add a personal touch and make your bulletin board feel more welcoming. You can arrange the photos in a chronological order, or group them by theme.
- Children’s Artwork: Display your children’s artwork around the bulletin board to celebrate their creativity and talent. This is a great way to showcase their work and create a fun and colorful border.
- Travel Souvenirs: If you’re a travel enthusiast, use your travel souvenirs to create a unique and personalized border. You can incorporate postcards, ticket stubs, maps, or other mementos from your travels.
- Inspirational Quotes: Print out inspirational quotes or create your own and frame them to use as a border. This is a great way to add a motivational touch to your bulletin board and inspire yourself or others.
Adding 3D Elements
Adding 3D elements to your bulletin board border can add texture, dimension, and a touch of whimsy.
- Pom-Poms: Pom-poms come in a variety of colors and sizes and can be easily glued onto a fabric strip or arranged around the perimeter of the bulletin board.
- Buttons: Buttons can be used to create a unique and colorful border. You can arrange them in a pattern, or use them to create a whimsical design.
- Fabric Flowers: Fabric flowers add a touch of elegance and charm to your bulletin board. You can create your own flowers or purchase them from a craft store.
- Yarn Balls: Yarn balls can be used to create a playful and colorful border. You can use different colors and textures of yarn to add variety.
Creating DIY bulletin board borders is a fun and fulfilling way to express your creativity and personalize your space. From simple paper strips to elaborate 3D designs, the possibilities are endless. Remember to choose materials that reflect your style and purpose, experiment with different techniques, and most importantly, have fun! With a little effort and imagination, you can transform a simple bulletin board into a captivating focal point that will inspire and delight.
DIY bulletin board borders are a great way to personalize your space and add a touch of whimsy. If you’re looking for a rustic theme, you might consider incorporating elements from a DIY barn project. Think about using reclaimed wood, burlap, or even repurposed barn doors to create a unique and eye-catching border for your bulletin board.

